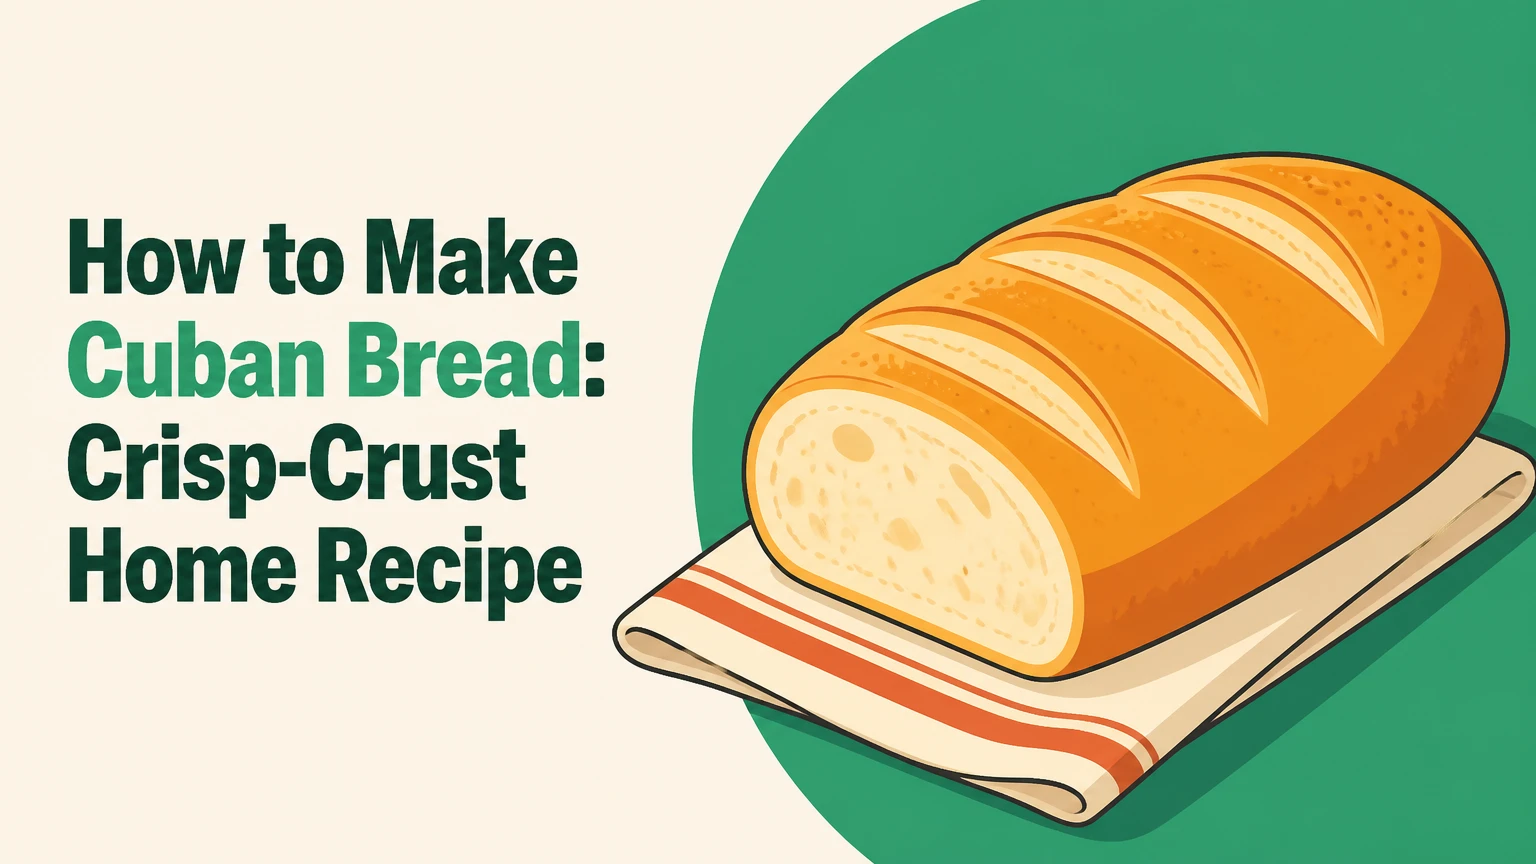
Cuban bread, or Pan Cubano, is a long, pale loaf with a thin crisp crust, soft close-textured crumb, and a small amount of lard or shortening. To make it at home, mix a moderately firm dough, give it one substantial rise, shape two narrow loaves, create a center seam, and bake with steam for about two hours.
Key Facts at a Glance
- This Cuban bread recipe makes two loaves about 14 inches long and uses 500 grams of bread flour.
- The formula contains 300 grams of water, 20 grams of lard, 10 grams of salt, 15 grams of sugar, and 7 grams of instant yeast.
- Total time is typically 1 hour 50 minutes to 2 hours 20 minutes, depending on dough temperature and room temperature.
- Cuban bread should have a pale golden crust, a tender crumb, and a long, narrow shape suitable for pressed sandwiches.
- A wet palmetto strip creates the traditional center trench, but a shallow razor score is safer and easier for most home kitchens.
- Lard gives the most traditional savory aroma; vegetable shortening produces a similar texture without pork.
What Makes Cuban Bread Different?
Cuban bread is a Florida style of white bread associated especially with Cuban immigrant communities in Tampa’s Ybor City and Miami. The loaf is usually long and narrow, with a thin crust, a compact airy crumb, and enough flexibility to flatten around roast pork, ham, Swiss cheese, and pickles.
The defining contrast is texture. French bread typically relies on lean dough and a thicker, chewier crust, while Pan Cubano uses a small quantity of solid fat to soften the crumb and reduce excessive chew. Traditional bakery loaves can be much longer than home versions, sometimes approaching 36 inches, so home bakers normally divide the dough into two 14-inch loaves.
The center opening is also distinctive. Commercial bakers may use a damp palmetto frond, while home bakers can use a shallow score. The leaf is not a required ingredient for authentic flavor, and unverified outdoor foliage should never touch food.
Is Cuban Bread Supposed to Be Soft or Crusty?
Cuban bread should be soft inside and thinly crisp outside, rather than uniformly soft like sandwich bread or thickly crusty like a baguette. The ideal crust breaks cleanly under a sandwich press while the crumb compresses without becoming gummy.
Fresh Pan Cubano is especially fragile because it contains little sugar and fat compared with enriched dinner bread. The loaf is best on its baking day. A pale crust is intentional, because a dark, thick crust becomes difficult to bite after pressing.
Cuban Bread Formula and Ingredient Choices
The following formula uses baker’s percentages, where the flour equals 100 percent. Weighing ingredients gives more reliable hydration and loaf size than measuring flour by volume.
| Ingredient | Weight | Baker’s percentage | Function |
|---|---|---|---|
| Bread flour | 500 g | 100% | Gluten structure and loaf shape |
| Water | 300 g | 60% | Hydration and yeast activity |
| Instant yeast | 7 g | 1.4% | Fast fermentation |
| Fine salt | 10 g | 2% | Flavor and gluten control |
| Sugar | 15 g | 3% | Browning and fermentation support |
| Lard | 20 g | 4% | Tender crumb and traditional aroma |
Lard, Shortening, or Oil?
Lard is the traditional first choice, but vegetable shortening is the closest practical substitute. Use refined vegetable shortening for a neutral, vegetarian loaf. Olive oil changes the dough more noticeably because liquid oil spreads through the dough differently and can make the crumb less characteristic.
| Fat choice | Quantity | Dietary status | Expected result |
|---|---|---|---|
| Leaf lard | 20 g | Contains pork | Most traditional aroma and tenderness |
| Regular lard | 20 g | Contains pork | Traditional texture with stronger variability |
| Vegetable shortening | 20 g | Vegetarian | Mild flavor and close texture |
| Vegan margarine | 20 g | Vegan, if certified | Tender crumb with possible added flavor |
| Olive or canola oil | 16-18 g | Vegan | Softer dough, less classic crumb |
Do not omit the fat when seeking a recognizable Cuban-style loaf. A fat-free dough can still produce edible bread, but the crust tends to become chewier and the crumb less tender.
Can All-Purpose Flour Work?
All-purpose flour works when bread flour is unavailable, but the dough may spread more and feel less resilient during shaping. Bread flour with approximately 11.5-13 percent protein generally gives better support for a long, narrow loaf.
Flour absorption varies by brand, climate, and storage. Hold back 10 grams of the water during mixing, then add it only if the dough feels unusually firm after several minutes of kneading.
Before You Start
Prepare the dough, shaping surface, baking tray, steam setup, and cooling rack before mixing. The recipe is beginner-friendly, but long loaf shaping and proofing judgment determine the final result more than advanced equipment.
| Requirement | Typical specification |
|---|---|
| Total time | 110-140 minutes |
| Active work | 25-35 minutes |
| Yield | Two loaves, 410-425 g each |
| Difficulty | Moderate |
| Baking temperature | 400°F, or 200°C |
| Equipment | Scale, bowl, tray, scraper, parchment, rack |
| Optional steam tool | Metal pan and 120-150 g ice |
| Approximate home cost | $3-$7 for two loaves |
Use instant yeast directly with the flour or dissolve it in the water. Active dry yeast also works, but allow several additional minutes for hydration. Water should feel warm, not hot, ideally about 100-105°F, or 38-40°C.
How to Make Cuban Bread at Home
Follow the steps in sequence and judge fermentation by dough appearance as well as the clock. A warm kitchen near 75-80°F, or 24-27°C, usually produces the stated timing; a cool kitchen can add 20-40 minutes.
Step 1: Mix the Yeast, Water, and Sugar
Combine 300 grams of warm water, 15 grams of sugar, and 7 grams of instant yeast in a large bowl. Add about 100 grams of the flour and stir until the mixture forms a thick batter, then rest it for 10 minutes.
The rest hydrates part of the flour and gives the yeast a chance to disperse. Instant yeast does not need visible foam, so lack of froth does not automatically mean failure.
You’ll know it worked when the mixture smells mildly yeasty and shows small bubbles around the edges. If the water exceeded about 120°F, or 49°C, discard the mixture and restart because excessive heat can damage yeast.
Common mistake: Adding salt directly to the yeast slurry can slow early fermentation. Add salt with the remaining flour instead.
Step 2: Knead in the Flour, Salt, and Lard
Add the remaining 400 grams of flour and 10 grams of salt. Stir until a rough dough forms, then knead for 4 minutes before adding 20 grams of softened lard in small pieces.
Continue kneading by hand for 6-10 minutes, or mix with a dough hook at low speed for 3 minutes followed by medium-low speed for 5-7 minutes. The finished dough should feel smooth, elastic, and slightly tacky rather than wet.
You’ll know it worked when the dough stretches into a thin membrane without tearing immediately. The dough temperature should ideally finish near 78-82°F, or 26-28°C.
Common mistake: Adding extra flour too early produces a stiff loaf. Grease your hands lightly and knead for another two minutes before adjusting hydration.
Step 3: Give the Dough a Full First Rise
Place the kneaded dough in a lightly greased bowl, cover it, and ferment for 45-60 minutes at approximately 75-80°F. The dough does not need to double exactly, but it should expand by roughly 75-100 percent.
A full bulk rise builds enough gas for a light crumb while preserving the strength needed for long shaping. Cuban bread’s fast timetable does not mean skipping fermentation.
You’ll know it worked when a floured fingertip pressed into the dough leaves an indentation that slowly begins to recover. A completely springy dough needs more time; a collapsed, sour-smelling dough has gone too far.
Common mistake: Following the clock in a cold kitchen. Extend fermentation until the dough has visibly expanded, even if that takes 75 minutes.
Step 4: Divide and Shape Two Long Loaves
Turn the dough onto a lightly floured surface and divide it into two pieces of approximately 415 grams each. Flatten one piece into a rectangle about 8 by 12 inches, fold the long edges slightly inward, and roll tightly from one long edge.
Pinch the seam closed, then roll the dough under your palms until each loaf reaches about 14 inches. Keep the center nearly parallel-sided and taper the ends only slightly. Excessive tapering creates thin ends that dry before the center bakes.
You’ll know it worked when the seam stays closed and each loaf has even thickness from end to end. Place the loaves seam-side down on parchment, leaving at least 4 inches between them.
Common mistake: Rolling the loaf too loosely traps large gaps beneath the crust. Deflate obvious air pockets during the initial rectangle stage, then roll with steady pressure.
Step 5: Create the Traditional Center Seam
For the traditional appearance, lay a clean, food-safe palmetto strip soaked in water lengthwise over the top of each shaped loaf. Press it gently into the surface without cutting the dough. For a simpler home method, score one shallow line down the center with a razor.
Wet kitchen twine can create a similar barrier, but it must be plain, undyed cotton and fully saturated. Avoid string with synthetic fibers, coatings, fragrance, or unknown dyes. A score is the most predictable choice.
You’ll know it worked when the leaf or twine rests in a shallow channel without pulling the dough. The goal is controlled expansion, not a deep cut.
Common mistake: Using a dry leaf. Dry material can stick to the crust and tear the loaf. A score avoids that failure and remains visually acceptable.
Step 6: Proof the Shaped Loaves Briefly
Cover the loaves loosely and proof for 15-25 minutes at room temperature. The shaped dough should puff modestly but should not double or become visibly fragile.
Short final proofing preserves oven spring, which creates the characteristic opening along the center. A longer proof can produce a wider, flatter loaf with less dramatic expansion.
You’ll know it worked when a gentle fingertip touch leaves a shallow mark that returns slowly. If the indentation remains permanently, bake immediately because the dough is close to over-proofed.
Common mistake: Proofing until the loaves look fully inflated. Pan Cubano needs reserve expansion in the oven.
Step 7: Bake With Strong Initial Steam
Heat the oven to 400°F, or 200°C. Place a heavy metal pan on a lower rack while the oven heats. Mist the loaves lightly with water, load the tray, then add 120-150 grams of ice to the hot pan and close the door quickly.
Bake for 20-25 minutes. If the crust is coloring too quickly, reduce the temperature to 375°F, or 190°C, for the final 5 minutes. Remove the leaf or twine carefully after baking.
You’ll know it worked when the crust is pale golden, the center seam has opened, and the loaf sounds hollow when tapped. An internal temperature around 195-205°F, or 90-96°C, indicates a fully baked crumb.
Common mistake: Pouring water onto a glass or ceramic dish. Use a heatproof metal pan only, because thermal shock can shatter unsuitable cookware.
Step 8: Cool Before Cutting
Transfer the bread to a wire rack and cool for at least 20-30 minutes before slicing. Cooling allows the crumb structure to finish setting, so cutting immediately can make the interior appear gummy.
Cuban bread is often pressed after slicing, but the loaf should still cool first. For a crisp sandwich crust, use the bread within several hours; for the softest crumb, use it the same day.
You’ll know it worked when the cut surface feels dry and tender rather than pasty. A serrated knife produces fewer crushed areas than a chef’s knife.
Common mistake: Sealing hot bread in plastic. Condensation softens the crust and encourages a gummy surface.
Tampa Style, Miami Style, and Home Versions
Regional labels describe tendencies rather than a single legally fixed standard. Tampa bakery traditions are often associated with very long loaves and lard, while Miami commercial bread may use shortening and more standardized mechanical scoring.
| Style | Typical loaf length | Fat | Fermentation profile | Typical use |
|---|---|---|---|---|
| Tampa bakery style | 24-36 inches | Lard | May include viejo | Cuban sandwiches and pan con timba |
| Miami commercial style | 18-30 inches | Shortening or lard | Fast commercial rise | Daily sandwiches |
| Home-baked style | 12-15 inches | Lard or shortening | 45-60 minute bulk rise | Two-loaf household batch |
| Preferment version | 12-15 inches | Lard or shortening | 12-16 hour viejo | More developed flavor |
A viejo, or old dough, is an optional piece of previously fermented dough incorporated into a new batch. It adds fermentation flavor and dough maturity, but it is not necessary for a successful first attempt.
How Does Cuban Bread Compare With French Bread?
Cuban bread is the better choice for a pressed Cuban sandwich because its thin crust and tender crumb flatten cleanly. French bread is generally better when the goal is a chewy, deeply browned crust and irregular open holes.
| Attribute | Cuban bread | French baguette | Italian pane comune |
|---|---|---|---|
| Typical hydration | 55-60% | 65-75% | 60-70% |
| Added fat | 3-5% | 0% | 0-3% |
| Crust | Thin, pale, crisp | Thick, brown, crackly | Medium-thick, crisp |
| Crumb | Fine and tender | Open and chewy | Moderately open |
| Proofing style | Fast, short final proof | Longer fermentation common | Variable |
| Best application | Pressed sandwich | Dipping and slicing | Table bread |
How Can You Adapt the Recipe?
Shortening is the easiest substitution when a baker wants to avoid pork. Replace the 20 grams of lard with 20 grams of vegetable shortening, and expect a slightly less savory aroma with nearly comparable tenderness.
For a vegan version, use certified vegan margarine or shortening and check the sugar and yeast labels. For an egg-free version, make no changes because the base recipe contains neither eggs nor dairy.
High-altitude kitchens may require less water and shorter baking time. Start by withholding 10 grams of water, watch the dough during fermentation, and reduce final proofing if the dough expands unusually quickly.
For a smaller batch, halve every ingredient and make one loaf about 14 inches long. For four loaves, double the formula, but divide the dough before bulk fermentation only if your mixer cannot safely handle 1 kilogram of flour.
Common Problems and How to Fix Them
| Problem | Likely cause | Recovery or next-batch fix |
|---|---|---|
| Dense, heavy crumb | Under-fermentation or weak kneading | Extend bulk rise 15-30 minutes and knead to elasticity |
| Loaf spreads sideways | Over-proofing or loose shaping | Shorten final proof and tighten the seam |
| Center does not open | Dry leaf, shallow score, or weak oven spring | Wet the barrier, score 3-5 mm deep, preheat fully |
| Crust becomes thick and dark | Excessive heat or prolonged baking | Bake at 375-400°F and remove near 205°F internal temperature |
| Bread tastes bland | Salt omitted or unevenly mixed | Weigh 10 g salt and distribute it through the flour |
| Bread turns stale quickly | Normal low-preservative formula | Freeze within 24 hours and reheat before serving |
A dense loaf is not always caused by under-kneading. Excess flour can reduce hydration enough to produce a tight crumb even when gluten development is adequate, which is why adding flour during shaping should remain minimal.
A failed center split does not necessarily mean the bread is ruined. Slice the loaf, brush it with butter or olive oil, and use it for toast or a pressed sandwich; flavor and crumb may still be sound.
Storage, Freezing, and Reheating
Cuban bread is best stored at room temperature for less than 24 hours in a paper bag or loosely wrapped cloth. Plastic retains moisture and softens the crust, although it can be useful briefly when the priority is preventing the crumb from drying.
For longer storage, freeze cooled loaves or sandwich-length pieces in airtight freezer bags for up to one month for best quality. Press out excess air, label the date, and thaw at room temperature for 30-60 minutes.
Reheat thawed bread at 350°F, or 175°C, for 5-8 minutes. A light mist of water before reheating restores some crust crispness, but do not soak the loaf because the crumb can become rubbery.
How Much Does Homemade Cuban Bread Cost?
A typical two-loaf batch costs approximately $3-$7, depending on flour, lard, and yeast prices. The estimate excludes equipment, electricity, and specialty palmetto leaves.
| Cost component | Typical quantity | Typical home cost | Cost driver |
|---|---|---|---|
| Bread flour | 500 g | $0.80-$1.75 | Brand and package size |
| Lard or shortening | 20 g | $0.15-$0.60 | Fat type |
| Yeast | 7 g | $0.20-$0.70 | Jar versus packet |
| Salt, sugar, water | 325 g combined | $0.05-$0.20 | Usually negligible |
| Energy and parchment | One bake | $0.50-$1.50 | Oven and local utility rate |
| Total batch | Two loaves | $3-$7 | Typical household range |
Bakery prices vary by region, loaf length, and whether the bread is sold fresh from a Cuban bakery. A home recipe is most economical when the baker already owns a scale and baking tray.
FAQ
Can I Make Cuban Bread Without a Palmetto Leaf?
Yes. A shallow center score creates a reliable opening without a leaf, and it is the safest option for most home kitchens. Use a sharp razor to cut approximately 3-5 millimeters deep immediately before baking. The loaf will taste the same, although the trench may look cleaner and less rustic.
Should Cuban Bread Start in a Cold Oven?
A cold-oven start appears in some home recipes, but a fully preheated 400°F oven gives more predictable oven spring and crust formation. Use a cold start only when following a formula designed for it, because the longer heating period can over-proof a high-yeast dough.
Why Is My Cuban Bread Chewy?
Chewy Cuban bread usually results from omitting the fat, using excessive flour, or baking the crust too long. Confirm that the formula contains 20 grams of lard or shortening, keep hydration near 60 percent, and remove the loaves when the interior reaches approximately 195-205°F.
Can I Use Whole-Wheat Flour?
Replace 10-20 percent of the bread flour with whole-wheat flour for a manageable texture. Higher percentages absorb more water, reduce loaf volume, and produce a darker, denser crumb that no longer matches classic Pan Cubano closely. Add 5-15 grams of extra water only after assessing the dough.
What Is a Cuban Sandwich Loaf Size?
A practical home Cuban sandwich loaf is 12-15 inches long and weighs about 400-425 grams before slicing. Cut the loaf into sections 6-8 inches long, split horizontally, and press after filling. Commercial Tampa loaves can be substantially longer, but a home oven rarely accommodates a full 36-inch loaf.
How Do I Get a Softer Crust After Baking?
Wrap the completely cooled loaf loosely in paper for a softer crust, or place it in a sealed bag for a short period after cooling. For a sandwich, pressing naturally softens the crust. Do not seal the loaf while hot, because trapped steam can make the surface gummy.
The Bottom Line
To make Cuban bread, use a 60 percent hydration dough with 4 percent lard or shortening, knead it until elastic, give it a 45-60 minute bulk rise, shape two 14-inch loaves, proof briefly, and bake with steam at 400°F for 20-25 minutes. The most important variables are dough consistency, tight shaping, restrained final proofing, and a pale rather than dark crust. Use this Cuban bread recipe on baking day, then freeze any extra loaf within 24 hours.