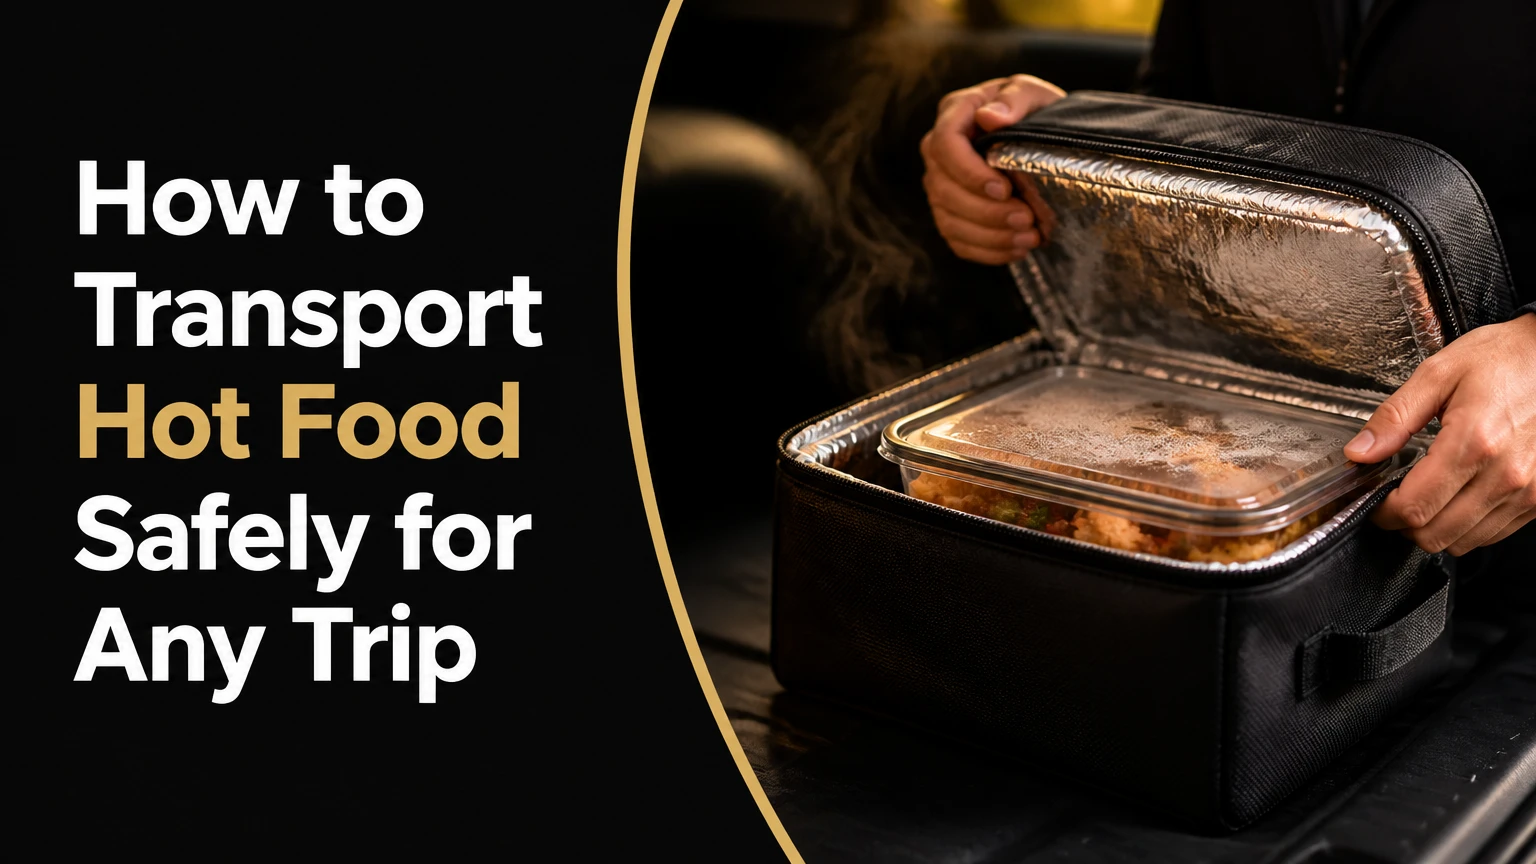
To transport hot food safely, cook or reheat it to the required internal temperature, place it in a preheated insulated carrier, minimize empty space and lid openings, and verify the food on arrival. Keep food at or above 135°F during holding, target 140°F for a practical transport margin, and discard food left below 140°F for two hours or longer.
Key Facts at a Glance
- A preheated, tightly closed insulated carrier preserves heat better than foil alone.
- The FDA Food Code generally uses 135°F as the minimum hot-holding temperature for many food-service operations.
- The USDA defines 40°F-140°F as the food-safety Danger Zone for perishable food.
- A calibrated probe thermometer must measure the food’s center, not merely the air inside the carrier.
- Passive commercial carriers typically retain hot food for 3-6 hours, while soft delivery bags usually suit trips under 90 minutes.
- Steam retention improves temperature, but trapped steam can make fried, roasted, and baked foods soggy.
What Does Safe Hot Food Transport Mean?
Safe hot food transport means controlling temperature, time, contamination, moisture, and physical movement from the kitchen to the serving location. The carrier must slow heat loss while the food remains covered, protected from spills, and isolated from raw ingredients or dirty equipment.
The central safety objective is limiting pathogen growth. USDA guidance places perishable food in the Danger Zone between 40°F and 140°F, while the FDA Food Code commonly specifies 135°F or higher for hot holding in regulated food-service settings. A household cook should use 140°F as a practical transport target because the food loses heat while being loaded, driven, unloaded, and checked.
Temperature alone does not guarantee quality. A sealed pan of fried chicken can arrive above 140°F and still become soft from condensation. A vented pizza box can preserve its crust better, but it loses heat faster than a sealed pan. Good transport therefore matches the container to both the safety requirement and the food’s moisture behavior.
What causes heat loss?
Heat leaves a food container through conduction, convection, radiation, and evaporation. Conduction moves heat into a cold pan, shelf, vehicle floor, or countertop; convection carries heat away through moving air; radiation transfers infrared energy through exposed surfaces; evaporation removes substantial heat when steam escapes.
Insulation reduces conduction and convection. Reflective foil can reduce radiant transfer, but foil cannot compensate for a cold carrier, a loose lid, or repeated opening. Thermal mass also matters: a full, dense pan cools more slowly than a shallow pan containing a small portion because less surface area is exposed per unit of food.
What Temperatures Matter During Transport?
The cooking temperature depends on the food, but the transport decision depends on the food’s internal temperature and elapsed time. Use the thickest part of the item, avoid touching the pan, and measure several locations when a container holds mixed portions.
| Food or operation | Minimum internal temperature | Measurement point | Practical transport instruction |
|---|---|---|---|
| Poultry, including chicken and turkey | 165°F | Thickest meat section | Load immediately after verification |
| Leftovers and casseroles | 165°F | Center of the deepest portion | Stir liquid foods before the final check |
| Ground meats | 160°F | Center of the thickest patty or loaf | Use several patties as sample points |
| Whole cuts of beef, pork, lamb, and veal | 145°F, with a 3-minute rest | Thickest section | Keep covered during the rest and loading |
| Hot holding during service | 135°F or higher under FDA Food Code guidance | Food center | Target 140°F or higher during transit |
| Refrigerated perishable food boundary | 40°F | Food center | Do not use a warm carrier for cold food |
The USDA’s public guidance, commonly summarized as “Keep hot foods hot and cold foods cold,” captures the operating principle, but a carrier’s outside display cannot replace a food-core measurement. A 160°F air reading may coexist with a 128°F shallow pan if the food was loaded cold or the lid was opened repeatedly.
How long can transported food remain safe?
Hot food should remain at or above 140°F during transport whenever possible. If perishable food falls below 140°F, the USDA’s two-hour rule generally applies, or one hour when ambient temperatures exceed 90°F; food that remains in the Danger Zone beyond that period should be discarded rather than reheated.
| Situation | Time limit or target | Correct action |
|---|---|---|
| Food held at 140°F or higher | No fixed two-hour discard trigger | Continue monitoring and maintain coverage |
| Food below 140°F in normal conditions | 2 hours maximum | Reheat promptly to 165°F or discard |
| Food below 140°F above 90°F ambient | 1 hour maximum | Reheat promptly to 165°F or discard |
| Passive carrier trip | Typical 2-6 hours | Validate the specific carrier with a test load |
| Soft delivery bag trip | Typical 30-90 minutes | Deliver promptly and avoid staging |
| Overnight unrefrigerated holding | Unsafe for perishable foods | Discard; do not rely on reheating |
A transport duration is not automatically safe because a carrier manufacturer claims a six-hour holding period. Published or advertised hold times depend on starting temperature, pan fill, ambient conditions, opening frequency, and carrier condition. Test the complete loading pattern before using it for a paid event.
How to Transport Hot Food Safely
The most reliable process has six stages: preheat the carrier, finish the food, select suitable containers, load densely, control transit, and verify receipt. For a typical home meal, preparation takes 15-25 minutes, while a commercial packing line may need 30-60 minutes depending on pan count.
Before you start
| Requirement | Typical specification |
|---|---|
| Time required | 15-25 minutes for a small meal |
| Difficulty | Moderate |
| Food thermometer | Calibrated digital probe, 32°F and 212°F reference checks |
| Carrier | Insulated box, heated cabinet, or thermal delivery bag |
| Containers | Lidded stainless-steel or heat-rated food pans |
| Packing materials | Clean towels, thermal dividers, labels, spill-resistant lids |
| Transport target | 140°F or higher at loading and receiving |
| Vehicle condition | Clean, level, shaded, and free of raw-food contamination |
Step 1: Preheat the carrier
Preheat a passive carrier with boiling or near-boiling water for 10-15 minutes, then drain it completely and dry it before loading. Preheat an active cabinet according to its manual, usually for 20-30 minutes, and confirm that the interior reaches its operating set point rather than trusting the power light.
Water preheating works because the carrier walls and shelves begin warm instead of absorbing heat from the food. Do not leave water inside the carrier, because pooled water can contaminate containers, damage some electrical units, and create unnecessary condensation.
Success checkpoint: The empty passive carrier feels warm inside, contains no standing water, and closes normally. An active unit displays or measures its intended operating temperature.
Common mistake: Loading food into a cold box while assuming thick insulation creates heat. Insulation slows temperature change; it does not heat a cold meal.
Step 2: Cook or reheat the food fully
Cook or reheat each food to its applicable internal temperature before packing. Check poultry and leftovers at 165°F, ground meats at 160°F, and whole cuts at 145°F followed by a three-minute rest, using the USDA temperature framework.
Probe the thickest piece and take at least two readings in large pans. Stir soup, gravy, rice, or stew before the final measurement because hot liquid layers can conceal cooler material near the bottom.
Success checkpoint: The coldest measured location meets the required temperature, and the food goes into the carrier immediately rather than sitting on a counter.
Common mistake: Checking only surface temperature. Steam and surface heat can produce a high reading while the center remains underheated.
Step 3: Choose containers and seal them correctly
Use shallow, rigid, heat-rated containers for foods that need quick reheating, and deeper pans for dense foods that must retain heat during a long trip. Stainless-steel hotel pans transfer heat efficiently, so they should be loaded hot into an insulated carrier rather than left exposed on a metal table.
Snap-on lids provide the most consistent seal. If a compatible lid is unavailable, cover the pan tightly with food-safe film rated for the temperature, then add foil as an outer barrier. Do not let foil or plastic contact heating elements, and never seal a container that is not designed to vent pressure when transporting actively boiling liquids.
Success checkpoint: The lid cannot shift when the pan is gently tilted, and the container has enough headspace to prevent liquid from pushing into the seal.
Common mistake: Sealing crisp foods in a fully airtight container. Use a vented box or loosely covered rigid container for fried foods, because steam trapped against the crust causes rapid softening.
Step 4: Load the carrier for thermal stability
Fill the carrier with compatible food pans and minimize large empty cavities. Place dense foods such as stew, braised meat, and casserole in the central or lower positions, while protecting delicate foods from crushing and separating foods with different moisture requirements.
Use clean, purpose-made thermal dividers or empty lidded pans when the carrier design permits them. Do not fill gaps with dirty towels, loose foil, raw food packaging, or improvised heating materials. Empty air contributes to heat loss, but contaminated filler creates a food-safety hazard.
| Food type | Recommended container | Lid or vent | Loading position |
|---|---|---|---|
| Soup or stew | Deep stainless pan with 1-2 inches of headspace | Tight, spill-resistant lid | Level, lower shelf |
| Rice or pasta | Medium-depth pan, loosely packed | Sealed lid for soft foods | Center of carrier |
| Fried chicken | Rigid vented box with absorbent liner | Vented closure | Separate from wet foods |
| Roasted vegetables | Shallow pan | Slight venting | Upper or center shelf |
| Pizza | Insulated pizza bag or rigid box | Crust venting | Flat and level |
| Sauce or gravy | Leak-resistant narrow container | Tight lid | Upright in a secondary tub |
Success checkpoint: Every pan is level, labeled, secured against sliding, and surrounded by insulation rather than a large unprotected void.
Common mistake: Overpacking until lids bow or containers tilt. A full carrier retains heat well only when the door closes completely and the pans remain stable.
Step 5: Control the vehicle and transit period
Load the carrier last, place it on a level surface, latch it, and keep it closed until delivery. A passenger footwell, trunk, or cargo area can become hot, but ambient vehicle heat does not reliably replace food holding equipment and may exceed safe conditions for packaging.
Keep the carrier out of direct sunlight and away from raw meat, cleaning chemicals, pets, and personal belongings. Record the loading time, starting food temperature, destination, and receiving temperature for catering or repeated delivery work.
Success checkpoint: The carrier remains latched, upright, shaded, and traceable throughout the journey.
Common mistake: Opening the carrier to inspect food during the drive. Each opening exchanges the warm internal air with cooler ambient air and can rapidly reduce the surface temperature of shallow pans.
Step 6: Verify, serve, hold, or correct
Measure the center of the thickest or coolest food immediately after arrival. Use a clean, sanitized probe and measure multiple pans when the load includes different foods, depths, or carrier positions.
Food at or above 140°F can move into a preheated hot-holding cabinet, chafing dish, or serving line. Food below 140°F requires a time-based decision: reheat it promptly to 165°F if the total time below the threshold is known and within the applicable limit, or discard it when the time is unknown or excessive.
Success checkpoint: The receiving log records the food temperature, time, corrective action, and person responsible.
Common mistake: Trusting a warm container exterior. The outside may feel hot while the center has entered the Danger Zone.
Which Transport Equipment Should You Choose?
The best carrier depends on trip length, food volume, power availability, and texture. A passive polyethylene box is the strongest general choice for multi-hour catering, an EPP carrier suits lighter loads, an active cabinet fits repeated service with electrical access, and a thermal bag fits short delivery runs.
| Carrier type | Typical price | Typical useful duration | Power requirement | Best application |
|---|---|---|---|---|
| Active heated cabinet | $250-$4,500+ | 4 hours to indefinite with power | 110V AC or 12V DC model | Commercial staging and long service windows |
| Rotomolded polyethylene carrier | $200-$500 | 4-6 hours | None | Catering pans and repeated events |
| EPP foam carrier | $50-$120 | 3-4 hours | None | Lightweight delivery and moderate loads |
| Soft thermal bag | $30-$100 | 45-90 minutes | None | Single-order delivery and short trips |
| Insulated household cooler | $30-$150 typical | 2-3 hours, load-dependent | None | Potlucks and occasional home transport |
| Insulated pizza bag | $25-$100 | 30-90 minutes | None | Flat pizza and short courier routes |
Active heated cabinets
Active cabinets use electrical heating elements to maintain a set temperature and recover heat after opening. They cost more, weigh more, and require compatible outlets, vehicle inverters, or approved battery systems.
Active heat does not remove the need for safe loading. A cabinet that starts with cold food may warm the surface while the center remains unsafe, and an overloaded unit may not circulate heat evenly. Follow the manufacturer’s pan spacing and temperature settings.
Passive polyethylene carriers
Rotomolded polyethylene carriers with closed-cell polyurethane insulation offer strong impact resistance, stacking capability, and long passive holding periods. Typical commercial units hold standard 2.5-inch or 4-inch-deep hotel pans and weigh approximately 20-30 pounds empty, depending on size.
These carriers are poor choices when workers must carry them long distances up stairs. Their weight and storage footprint are real operating costs.
EPP carriers
Expanded polypropylene carriers are lightweight, washable, and resistant to many food-service chemicals. Typical units weigh substantially less than rigid polyethylene boxes and cost less, but sharp pan corners can gouge the foam and reduce its service life.
EPP works well for one driver carrying several meals or a small event load. It is less suitable for rough warehouse handling unless the pans have rigid spacers.
Soft thermal bags
Soft-sided bags are economical and fold for storage, but their zippers, seams, and flexible walls lose heat faster than rigid carriers. Internal shelves prevent stacked containers from crushing food, while a foil lining reduces radiant heat loss without creating a complete vapor seal.
Soft bags are not suitable for a four-hour unpowered catering window unless a validated design and load test prove otherwise.
What Is the Best Packing Method for Different Foods?
Food-specific packing determines whether transport preserves texture as well as temperature. Moist foods benefit from tight lids, fried foods need controlled ventilation, and liquids need headspace plus a secondary containment layer.
| Food | Primary risk | Packing method | Arrival adjustment |
|---|---|---|---|
| Fried chicken | Soggy crust | Vented rigid box with absorbent liner | Serve quickly; do not reseal while steaming |
| Pizza | Cold center or soft crust | Flat insulated box with limited venting | Keep boxes horizontal |
| Soup | Leaks and pressure | Lidded container with headspace inside a sealed tub | Open away from the face |
| Rice | Drying or uneven cooling | Covered shallow pan, filled consistently | Stir before serving |
| Pasta with sauce | Clumping and cooling | Covered pan with sauce mixed evenly | Add a small amount of reserved sauce if needed |
| Casserole | Cold center | Deep lidded pan, fully reheated before loading | Verify the center of each pan |
| Gravy or sauce | Skin formation and spills | Narrow leak-resistant container | Stir and recheck temperature |
For soup, leave headspace because thermal expansion and vehicle movement can force liquid through a tight seal. Place the closed container inside a secondary leakproof tub, then secure the tub upright inside the carrier.
For fried food, a fully sealed plastic container can preserve heat but degrade texture within minutes. A vented rigid box often produces a better meal even though its temperature retention is slightly lower.
Common Mistakes and How to Fix Them
Using foil without insulation
Foil reflects some radiant heat but provides little resistance to conduction or convection. Wrap the covered dish, place it inside an insulated carrier, and fill surrounding space with clean insulating material.
Starting with a cold carrier
A cold box absorbs heat before the trip begins. Preheat a passive carrier with hot water for 10-15 minutes, or run an active carrier long enough to verify its internal temperature.
Transporting half-empty pans
A shallow half-filled pan has more exposed surface area per portion and cools quickly. Use smaller containers, consolidate compatible foods, or add a properly lidded thermal mass insert approved for the carrier.
Opening the carrier repeatedly
Inspection creates avoidable heat exchange. Label every pan position before departure and use an external data logger or a receiving check instead.
Packing wet and crisp foods together
Steam from soup, vegetables, or sauced meat migrates into fried coatings and baked crusts. Separate wet foods from crisp foods and use vented packaging for the crisp items.
Using improvised hot packs
Unapproved gel packs, heating stones, boiling bottles, or chemical warmers can leak, melt packaging, burn food, or create contamination. Use only manufacturer-approved thermal plates or active equipment, and follow their heating instructions.
What If the Food Arrives Too Cool?
Food that arrives below 140°F should be assessed by temperature and elapsed time, not rescued automatically. If the food has been below the hot-holding threshold for less than two hours in normal conditions, move it immediately to a verified oven, range, or reheating appliance and heat it to 165°F; discard it when the duration is unknown, exceeds two hours, or exceeds one hour above 90°F ambient.
Do not reheat food inside a passive carrier. A carrier preserves temperature but does not reliably deliver uniform cooking heat. Stir liquid foods, cover casseroles to limit drying, and verify the center in several locations after reheating.
Food can remain unsafe even after reheating if toxins or contamination accumulated during prolonged temperature abuse. Reheating is a controlled correction for a short, documented excursion, not a reset button.
Variations for Common Situations
How should a home cook transport food to a potluck?
A home cook can use an insulated cooler as a temporary hot carrier for roughly 2-3 hours when the dish is fully cooked, covered, and surrounded by clean towels. Confirm that the cooler is heat-resistant, keep the dish in its original lidded baking container, and never pour boiling water into a plastic cooler unless its manufacturer permits it.
Place the covered dish in the center, pad the sides and top, and keep the cooler closed. Do not place a hot metal pan directly against a thin plastic wall because it can deform the liner. A towel method is inexpensive, but it lacks validated performance and should not replace a commercial carrier for a large event.
How do caterers transport food for several hours?
Caterers should use standardized GN or hotel pans, validated passive carriers, or active cabinets with documented temperature checks. Fill carriers consistently, preheat them on every service day, label every slot, and record loading and receiving temperatures.
A caterer handling five-hour service windows should test the exact menu, pan depth, vehicle route, ambient temperature, and opening pattern. Manufacturer hold-time claims cannot substitute for a menu-specific validation test, particularly for shallow rice, fried foods, and mixed loads.
How should a delivery driver transport one meal?
A driver should use a rigid thermal bag or EPP box, keep the meal upright, separate hot and cold components, and deliver within 30-90 minutes. A vented package protects fried foods, while a sealed package works better for soup, rice, and casseroles.
Do not place hot food beside ice cream, raw groceries, chemicals, or an unclean vehicle floor. The thermal bag should be cleaned after leaks and fully dried before its next use.
Expert Rules That Prevent Most Failures
- Validate the coldest pan, not the average load. The top shallow pan and the pan nearest the door often lose heat first, so use those locations for conservative testing.
- Thermal mass beats empty volume. A carrier filled to roughly 80% of its usable pan capacity usually performs more consistently than several half-filled boxes, provided the door still closes correctly.
- Heat and texture require different packaging. The tightest seal retains heat, but controlled venting often produces better fried, roasted, and baked food.
- The first 15 minutes matter disproportionately. Loading, staging, and vehicle transfer expose food to heat loss before the carrier settles into its holding environment.
- A temperature log is cheaper than a failed event. A $10-$50 calibrated thermometer and written record provide more useful control than relying on an exterior carrier gauge.
FAQ
Can I transport hot food in a regular cardboard box?
A regular cardboard box does not provide dependable insulation, spill protection, or food-safe cleaning. Cardboard may work as a secondary outer carton for a short, already insulated delivery, but use a lidded container inside a purpose-built thermal bag or rigid carrier for hot food.
Can I leave hot food in a turned-off oven during transport preparation?
A turned-off oven can provide brief staging insulation, but it is not a measured hot-holding device. Keep food covered, limit staging time, and transfer it into a preheated carrier immediately after the internal temperature reaches the required level.
Should I transport food covered or uncovered?
Transport most hot food covered because a lid limits contamination, convection, and evaporation. Transport fried or crisp foods in controlled-vent packaging when texture matters, since a fully sealed container traps steam and softens the surface.
Can I transport hot food and cold food in the same cooler?
Do not place hot and cold foods together in one unpartitioned cooler. Hot food can warm cold food into the Danger Zone, while cold items can remove heat from the hot meal. Use separate insulated carriers or a validated partitioned system.
How often should I calibrate a food thermometer?
Check a food thermometer regularly, especially after dropping it, using an ice-water reference near 32°F or a boiling-water reference near 212°F adjusted for altitude. Commercial kitchens should follow their written calibration schedule and local health requirements.
Is a chafing dish suitable for transport?
A chafing dish is designed primarily for hot holding and service, not secure vehicle transport. Transport food in sealed pans, then transfer it to the chafing dish at the venue, where the fuel or electric element can maintain at least 135°F.
The Bottom Line
To transport hot food safely, finish cooking or reheating it correctly, preheat the carrier, use suitable lidded containers, pack food densely without crushing it, keep the carrier closed, and measure the food center on arrival. Target 140°F during transit, use 135°F as the common hot-holding floor, and apply documented time limits when temperatures fall. The right method depends on the food, trip length, load size, and access to power, but a validated insulated carrier and a calibrated thermometer provide the most dependable foundation.