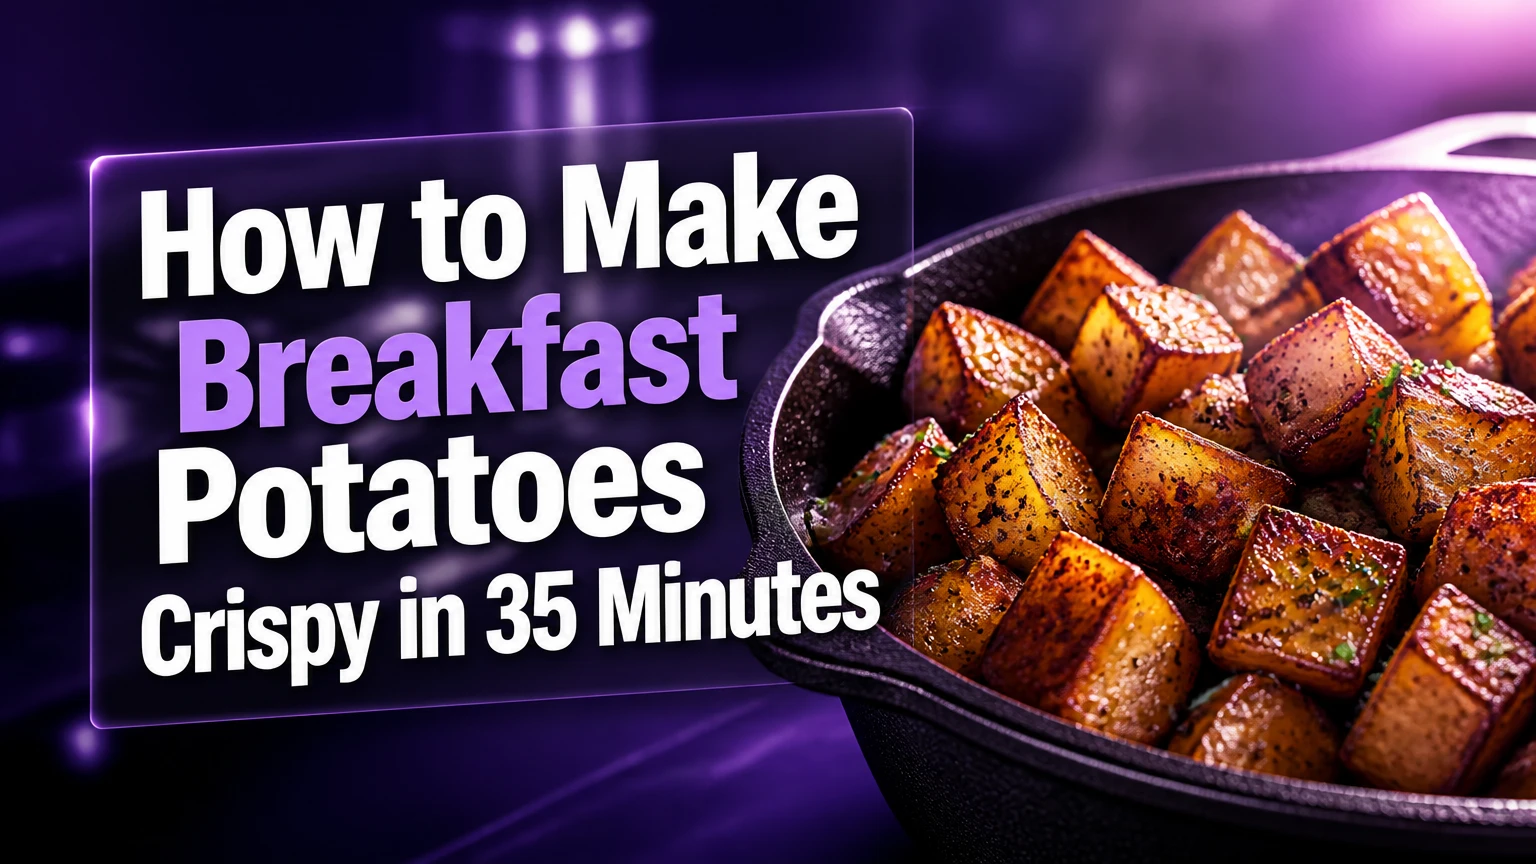
Breakfast potatoes are diced potatoes parboiled until barely tender, dried, roughened, and fried in a hot skillet until crisp outside and fluffy inside. For four servings, use 2 pounds of Yukon Gold or Russet potatoes, 3 tablespoons of oil, and about 35 minutes. The most important factor is removing surface moisture before the potatoes meet the pan.
Key Facts at a Glance
- Best all-purpose choice: Yukon Gold potatoes hold their shape while developing a crisp, buttery crust.
- Best maximum-crispness choice: Russet potatoes contain more starch and produce rougher, crunchier surfaces after parboiling.
- Best cut size: 1/2-inch cubes cook through in about 15-20 minutes after a 5-7 minute parboil.
- Best skillet temperature: Keep the cooking surface near 375-400°F, or 190-205°C, once the potatoes are frying.
- Best pan rule: Use a 12-inch skillet for 2 pounds of potatoes, or fry in batches to prevent steaming.
- Typical total cost: Homemade breakfast potatoes cost about $2-$5 for four servings, depending on the fat and vegetables.
What Are Breakfast Potatoes?
Breakfast potatoes are a savory side dish of browned potatoes, usually cut into cubes, slices, or shreds and cooked with fat, salt, and aromatic vegetables. The most common diner-style version is called home fries, while shredded potatoes cooked into a cohesive layer are hash browns.
The ideal home-fry texture has three contrasts: a crisp browned exterior, a tender center, and enough seasoning to complement eggs, sausage, bacon, or toast. Onions and bell peppers are common additions, but they should be cooked separately or added near the end because their sugars burn before potato interiors finish cooking.
Breakfast potatoes differ from roasted potatoes mainly in method and service. Roasted potatoes usually cook in a hot oven on a sheet pan, while home fries are finished in a skillet and often include sautéed vegetables. Both depend on dry surfaces, high heat, and enough space for steam to escape.
Home Fries, Hash Browns, and Roasted Potatoes
| Style | Cut | Typical cooking method | Texture and use |
|---|---|---|---|
| Home fries | 1/2-inch cubes or 1/4-inch slices | Parboil, then skillet-fry 15-20 minutes | Tender centers, browned edges, diner breakfast |
| Hash browns | Shredded Russet | Rinse, squeeze dry, fry 8-12 minutes per side | Thin, cohesive, highly crisp potato cake |
| Lyonnaise potatoes | 1/4-inch slices | Pan-fry with caramelized onions | Soft slices with browned edges and onion flavor |
| Oven potatoes | 3/4-inch cubes or wedges | Roast at 425°F for 30-40 minutes | Large-batch side dish with dry roasted crust |
Why Does Parboiling Make Potatoes Crispier?
Parboiling makes breakfast potatoes crispier because heat and water gelatinize starch at the surface before frying begins. After draining, the roughened starch layer dries and browns quickly in hot fat, while the partially cooked center needs less time in the skillet.
Potato starch gelatinizes as potato tissue heats in water. The surface becomes softer, and tossing the drained cubes in a colander creates tiny ridges and flakes. Those irregularities increase contact with oil and create more browned area than a smooth, raw cube.
Vinegar can help the cubes hold their shape because acidic water slows the breakdown of pectin, the material that helps plant cells stay connected. Use a modest amount, about 1 tablespoon of white vinegar per 2 quarts of water. Too much vinegar can leave a sharp taste and make browning less appealing.
High heat then drives off surface water. Browning accelerates after the surface is relatively dry and hot, while constant steam keeps the temperature lower. The Maillard reaction creates many browned savory flavors, but potatoes do not need an extreme temperature to brown well. A well-preheated skillet and a dry surface matter more than aggressive burner settings.
Should You Soak or Boil the Potatoes?
Parboiling is the better choice for 1/2-inch breakfast potato cubes because it cooks the interior while preparing the surface for browning. Cold-water soaking removes some loose starch, but soaking alone does not soften the center or create the same roughened exterior.
Soaking is more useful for shredded hash browns, where excess starch and water can make shreds stick together or brown unevenly. For diced home fries, soaking adds draining time without replacing the parboil. If you skip boiling, cover the skillet briefly after browning begins, then uncover it to restore the crust.
Which Potatoes Work Best?
Yukon Gold potatoes are the best general-purpose option because their moderately waxy structure stays intact while their naturally creamy flesh becomes tender. Russets produce a more rugged crust and fluffy interior, but their edges can break apart when overboiled or aggressively tossed.
Red potatoes and other waxy varieties hold their shape especially well. They are useful when you want distinct cubes with less surface crumbling, although their crust is usually thinner than a Russet’s. Avoid very small new potatoes for classic home fries unless you cut them evenly, because their size and moisture content vary widely.
| Potato variety | Starch and structure | Best result | Main risk |
|---|---|---|---|
| Yukon Gold | Medium starch, moderately waxy | Crisp edges and creamy centers | Can darken if held after cutting |
| Russet | High starch, fluffy | Maximum crust and light interior | Breaks apart after overboiling |
| Red potato | Waxy, firm cells | Neat cubes and firm bite | Less rugged crisp surface |
| White potato | Medium starch, balanced | Mild, flexible everyday option | Texture varies by cultivar |
How to Make Breakfast Potatoes in a Skillet
The skillet method takes about 35 minutes from whole potatoes to serving, including a 5-7 minute parboil. The process has eight practical steps: cut, parboil, drain, dry, cook aromatics, brown potatoes, combine, and serve.
Before You Start
| Item | Amount or setting | Typical value |
|---|---|---|
| Yield | 4 side servings | 2 pounds potatoes |
| Total time | Prep plus cooking | 30-40 minutes |
| Active cooking | Skillet work | 20-25 minutes |
| Difficulty | Home kitchen level | Moderate |
| Skillet | Heavy 12-inch pan | Cast iron or carbon steel |
| Cost | Potatoes, oil, vegetables | $2-$5 per batch |
Ingredients
- 2 pounds Yukon Gold or Russet potatoes
- 3 tablespoons avocado oil, canola oil, clarified butter, ghee, duck fat, or beef tallow
- 1 medium yellow onion, diced
- 1 bell pepper, diced
- 1 teaspoon kosher salt for the potatoes, plus more to taste
- 1/2 teaspoon black pepper
- 1/2 teaspoon smoked paprika
- 1/2 teaspoon garlic powder
- 1 tablespoon white vinegar
- 2 quarts cold water
- Optional: 2 tablespoons chopped chives or parsley
Step 1: Cut the Potatoes Into Even Cubes
Wash the potatoes and peel them if using Russets or if you prefer a smooth texture. Leave Yukon Gold or red potato skins on when they are clean and thin. Cut the potatoes into 1/2-inch cubes, keeping the pieces as close in size as possible.
Uniform pieces cook at the same rate. Cubes smaller than 1/2 inch brown quickly but can become dry; pieces larger than 3/4 inch often brown before the center softens.
You’ll know it worked when: the cubes look similar in width, with no very thin wedges or large chunks.
Common mistake: cutting by eye without checking the first few pieces. Use one cube as a size guide for the rest.
Step 2: Parboil in Salted, Slightly Acidic Water
Place the diced potatoes in a pot with 2 quarts of cold water, 1 teaspoon of kosher salt, and 1 tablespoon of white vinegar. Bring the water to a boil, then reduce it to a steady simmer and cook for 5-7 minutes.
The potatoes should be partly tender, not fully cooked. Test one cube with a paring knife. The knife should enter the outer layer easily but meet slight resistance in the center.
You’ll know it worked when: the edges look translucent and softened while the centers remain firm.
Common mistake: starting the potatoes in boiling water. Cold water heats the cubes more evenly and reduces broken edges.
Step 3: Drain, Roughen, and Steam-Dry
Drain the potatoes thoroughly in a colander. Shake the colander firmly for about 5 seconds, which breaks a few edges and coats the cubes with loose starch. Spread the potatoes on a plate or rimmed baking sheet and let them steam-dry for 5-10 minutes.
Surface water is the main enemy of early browning. If the potatoes remain visibly wet, blot them gently with a clean towel. For extra-dry potatoes, refrigerate the drained cubes uncovered for 30-60 minutes.
You’ll know it worked when: the cubes look matte rather than glossy, and their edges have small rough patches.
Common mistake: covering the hot potatoes. A lid traps steam and returns water to the surface.
Step 4: Cook the Onion and Bell Pepper Separately
Heat 1 tablespoon of oil in a 12-inch skillet over medium heat. Add the diced onion and bell pepper with a small pinch of salt. Cook for 4-6 minutes, stirring occasionally, until the vegetables soften and the onion develops lightly browned edges.
Transfer the aromatics to a bowl. Removing them creates room for the potatoes and prevents the vegetables from scorching during the longer browning stage.
You’ll know it worked when: the onion is translucent, the pepper bends easily, and neither ingredient has dark, bitter spots.
Common mistake: adding garlic at this stage. Garlic powder and minced garlic can burn before the potatoes finish; add them during the final minute or two.
Step 5: Preheat the Pan and Add the Potatoes
Increase the skillet to medium-high heat. Add the remaining 2 tablespoons of oil and heat for 30-60 seconds. Place the potatoes in one layer, leaving small gaps between pieces whenever possible.
A 12-inch skillet comfortably handles about 1 1/2-2 pounds of diced potatoes. If the cubes form a deep pile, use a second skillet or cook in two batches.
You’ll know it worked when: the first potato cubes sizzle immediately but the oil does not smoke heavily.
Common mistake: adding potatoes to a cold pan. The cubes absorb fat and release water before browning begins.
Step 6: Brown the First Side Without Stirring
Leave the potatoes undisturbed for 4-5 minutes. The stationary contact allows a crust to form, while repeated stirring scrapes away the developing browned surface.
After the first side is golden brown, turn the cubes with a thin spatula or tongs. Keep the heat near medium-high, adjusting downward if the oil smokes or the crust darkens rapidly.
You’ll know it worked when: the underside is golden brown and releases from the skillet with light pressure.
Common mistake: stirring every 30 seconds. Early movement produces pale, broken surfaces instead of a firm crust.
Step 7: Finish Browning and Season at the End
Cook the potatoes for another 8-12 minutes, turning them every 2-3 minutes so several sides brown. If the centers remain firm after the exterior colors, reduce the heat to medium, add 1 tablespoon of water, cover for 2 minutes, and then uncover the pan.
Return the onion and bell pepper. Add black pepper, smoked paprika, garlic powder, and the remaining salt during the final 1-2 minutes. Spices bloom in the hot fat but become bitter if exposed to high heat for the entire cooking time.
You’ll know it worked when: a knife slides into the center, the outside feels crisp, and no cube looks pale on every side.
Common mistake: salting heavily at the beginning. Salt draws moisture toward the surface and can delay browning when the potatoes are already wet.
Step 8: Add Fresh Herbs and Serve Immediately
Turn off the heat and fold in chopped chives or parsley if using. Taste one potato before adding more salt, because bacon, sausage, and salted eggs can change the seasoning balance.
Serve the potatoes within 5 minutes. A covered bowl traps steam and softens the crust, so use a shallow warmed dish if the rest of breakfast needs a short finishing period.
You’ll know it worked when: the crust remains audible when bitten and the center is tender rather than gummy.
Common mistake: holding the potatoes in a deep bowl. Spread them out to slow steam softening.
What Fat and Seasonings Should You Use?
Neutral oil gives the cleanest flavor and the widest margin for browning, while duck fat, beef tallow, and ghee add a richer savory profile. Butter alone can burn during a 15-minute fry because its milk solids brown quickly, so combine butter with oil or use clarified butter.
| Fat | Smoke-point tendency | Amount for 2 pounds | Flavor and limitation |
|---|---|---|---|
| Canola oil | About 400°F or higher | 3 tablespoons | Neutral, inexpensive, widely available |
| Avocado oil | About 480°F refined | 3 tablespoons | Mild flavor, higher typical cost |
| Ghee | About 450°F | 3 tablespoons | Rich dairy flavor without milk solids |
| Duck fat | About 375°F | 2-3 tablespoons | Deep savory flavor, less neutral |
| Unsalted butter | About 300-350°F | 1 tablespoon plus oil | Excellent flavor, burns if used alone |
A basic seasoning blend uses salt, black pepper, garlic powder, and smoked paprika. Add rosemary, thyme, cumin, cayenne, or scallions according to the main dish. Fresh herbs belong at the end; dried spices work best during the last 1-2 minutes.
Which Cooking Method Fits Your Kitchen?
The skillet produces the deepest browned crust, the oven handles the largest batch, and the air fryer uses less oil with limited capacity. Choose based on serving size and texture priority rather than assuming one method is universally best.
| Method | Temperature | Typical time | Maximum practical batch | Best use |
|---|---|---|---|---|
| Cast-iron skillet | 375-400°F surface | 15-20 minutes after parboil | 2 pounds in 12 inches | Crisp diner-style home fries |
| Sheet pan | 425°F oven | 30-40 minutes | 2-3 pounds per large pan | Weekend brunch for 6-8 people |
| Air fryer | 400°F | 15-22 minutes | 1-1 1/2 pounds per basket | Weekday portions for 2-4 people |
| Griddle | 375-400°F | 18-25 minutes | 2-4 pounds | Large, shallow cooking surface |
How Do You Make Oven Breakfast Potatoes?
To make oven breakfast potatoes, toss dried 3/4-inch cubes with 2-3 tablespoons of oil, spread them on a preheated rimmed baking sheet, and roast at 425°F for 30-40 minutes. Turn the potatoes once after 20 minutes and add cooked onions and peppers during the final 8 minutes.
The oven method is easier for a crowd because the potatoes occupy a broad surface instead of a deep skillet. Parboil for 5 minutes first when you want a fluffy center, or roast raw cubes for a firmer, more substantial bite.
Do not line the pan with a thick silicone mat if maximum browning is the goal. Bare metal or lightly oiled parchment transfers heat more directly, although parchment simplifies cleanup.
How Do You Make Them in an Air Fryer?
For air-fryer breakfast potatoes, use parboiled and dried 1/2-inch cubes, toss them with 1-1 1/2 tablespoons of oil, and cook at 400°F for 15-22 minutes. Shake the basket after 8 minutes and again near the end if the cubes brown unevenly.
Air circulation improves crisping, but overcrowding blocks that airflow. Keep the potatoes near one layer, and cook the onion and pepper separately or add them during the final 5 minutes so they do not burn.
Air frying is not ideal for a large family breakfast when the appliance holds less than 2 pounds per batch. Multiple rounds can take longer than a skillet or sheet pan.
Common Mistakes and How to Fix Them
Why Are Breakfast Potatoes Soggy?
Soggy breakfast potatoes usually result from excess surface water, a crowded pan, or insufficient preheating. Spread the potatoes into one layer, increase the heat to medium-high, and cook uncovered until steam decreases and the surfaces begin to brown.
If the potatoes are already soft and pale, transfer them to a wider hot skillet with 1 tablespoon of oil. Do not add more water or cover the pan, because both actions extend steaming.
Why Are the Centers Raw?
Raw centers mean the cubes were too large, the heat was too high, or the skillet did not have enough time to transfer heat inward. Add 1 tablespoon of water, cover for 2 minutes over medium heat, then uncover and cook until the crust dries again.
For future batches, cut cubes to 1/2 inch and parboil until the knife meets only slight resistance. Lowering the burner after the first browning stage also protects the exterior while the center finishes.
Why Do Potatoes Stick?
Potatoes stick when the pan is cold, the surface is poorly seasoned, or the cubes are moved before a crust forms. Preheat the fat, wait 4-5 minutes before the first turn, and use a thin metal spatula to release browned areas.
Cast iron usually releases potatoes more easily after adequate preheating and oil coverage. Stainless steel can work, but it requires more attention to heat and release timing.
Why Do the Potatoes Fall Apart?
Potatoes fall apart because they were boiled too long, cut too small, or shaken too aggressively. Stop the parboil when the outside is tender but the center remains firm, then toss gently enough to roughen edges without crushing the cubes.
Russets need particular care because their high starch content creates a fragile, floury surface after extended boiling. Yukon Golds provide a safer margin for beginners.
Why Do the Vegetables Taste Burnt?
Onions, peppers, paprika, and garlic burn when they remain in a hot skillet for the whole potato-cooking period. Cook the vegetables first and remove them, or add them only during the last 5 minutes.
A bitter flavor cannot be completely corrected with extra salt. Remove blackened pieces, wipe out burnt seasoning if necessary, and finish with a fresh small amount of oil and herbs.
Can You Make Breakfast Potatoes Ahead?
Breakfast potatoes can be parboiled and dried up to 24 hours ahead, which shortens morning cooking without sacrificing much texture. Cool the potatoes in a single layer, refrigerate them uncovered until cold, then transfer them to a covered container.
Cooked potatoes keep safely in the refrigerator for 3-4 days according to the U.S. Department of Agriculture’s 2023 guidance for refrigerated leftovers. Reheat them in a skillet over medium-high heat for 6-10 minutes, turning occasionally, or in a 400°F air fryer for 5-8 minutes.
Freezing is possible, but thawed potatoes can become slightly mealy. Freeze parboiled cubes in one layer, store them airtight for up to 1 month for best texture, and cook them from frozen in a hot skillet or oven.
How Do You Scale the Recipe?
Plan on 6-8 ounces of raw potatoes per person when breakfast potatoes are a side dish, or 10-12 ounces for a main breakfast skillet with eggs and vegetables. Keep the potato depth shallow as the batch grows; adding more cubes to one pan increases steaming rather than efficiency.
| Servings | Raw potatoes | Oil | Skillet or pan requirement | Typical cooking time |
|---|---|---|---|---|
| 2 side servings | 1 pound | 1 1/2 tablespoons | 10-inch skillet | 15-18 minutes |
| 4 side servings | 2 pounds | 3 tablespoons | 12-inch skillet | 18-22 minutes |
| 6 side servings | 3 pounds | 4-5 tablespoons | Two skillets or sheet pan | 25-35 minutes |
| 8 side servings | 4 pounds | 6 tablespoons | Two sheet pans | 35-45 minutes |
For a brunch gathering, use two sheet pans rather than stacking potatoes in one pan. Rotate the pans halfway through roasting so differences in oven airflow do not leave one batch pale.
Which Variations Work for Different Situations?
A weekday version benefits from frozen diced potatoes, an oven version suits a crowd, and a loaded skillet version needs cooked meat added late. Each variation keeps the same central rule: potatoes must have room to brown.
| Situation | Potato preparation | Cooking adjustment | Finish |
|---|---|---|---|
| Fast weekday meal | Frozen diced potatoes | Air fry at 400°F for 18-22 minutes | Scallions and fried egg |
| Large brunch | 3/4-inch parboiled cubes | Roast at 425°F for 35-40 minutes | Roasted peppers and herbs |
| Loaded breakfast skillet | 1/2-inch home fries | Add cooked bacon or sausage for final 3 minutes | Cheddar and eggs |
| Lower-oil batch | Dried Yukon Golds | Air fry with 1 tablespoon oil | Smoked paprika and parsley |
Cook bacon or sausage before the potatoes, remove excess rendered fat if necessary, and return the meat at the end. Raw meat releases water and can prevent the potatoes from forming a crust.
Frequently Asked Questions
Can I use frozen breakfast potatoes?
Yes. Frozen diced potatoes can go directly into a preheated skillet or air fryer, but they need extra space because their ice creates steam at first. Cook them at medium-high heat for about 18-25 minutes in a skillet, turning after the first 5 minutes, and season after the surface dries.
Should I peel potatoes for home fries?
Peeling is optional. Yukon Gold and red potato skins are thin enough to leave on after scrubbing, while Russet skins create a chewier, more rustic result. Peel potatoes when you want a uniform diner-style texture or when the skins are thick, damaged, or heavily blemished.
How much oil do breakfast potatoes need?
Use about 3 tablespoons of oil for 2 pounds of diced potatoes in a 12-inch skillet. The goal is a thin film covering the pan and contacting the potato surfaces, not enough oil to submerge the cubes. Use less only with a well-seasoned nonstick, cast-iron, or air-fryer setup.
Can I add eggs directly to the potatoes?
Add eggs after the potatoes are fully browned. Make wells in the finished potatoes, crack in the eggs, lower the heat, and cover until the whites set, usually 4-6 minutes. Adding eggs earlier releases moisture and makes the potato crust softer.
What is the best way to reheat breakfast potatoes?
Reheat breakfast potatoes in a lightly oiled skillet over medium-high heat for 6-10 minutes, turning once or twice. An air fryer at 400°F takes about 5-8 minutes. Microwaving is fastest, usually 1-2 minutes, but it softens the crisp exterior.
Can I make shredded hash browns with the same method?
No. Shredded hash browns require a different process because their thin strands brown before a parboiled cube would cook. Use a Russet, shred it, rinse until the water is less cloudy, squeeze it very dry, and fry the shreds in a thin layer for about 8-12 minutes per side.
The Bottom Line
To make breakfast potatoes with crisp edges and tender centers, cut 2 pounds of potatoes into 1/2-inch cubes, parboil them for 5-7 minutes, drain and steam-dry them, then fry them in a single layer at 375-400°F. Cook onions and peppers separately, season near the end, and serve immediately. The method succeeds when moisture is controlled and the pan is never crowded.