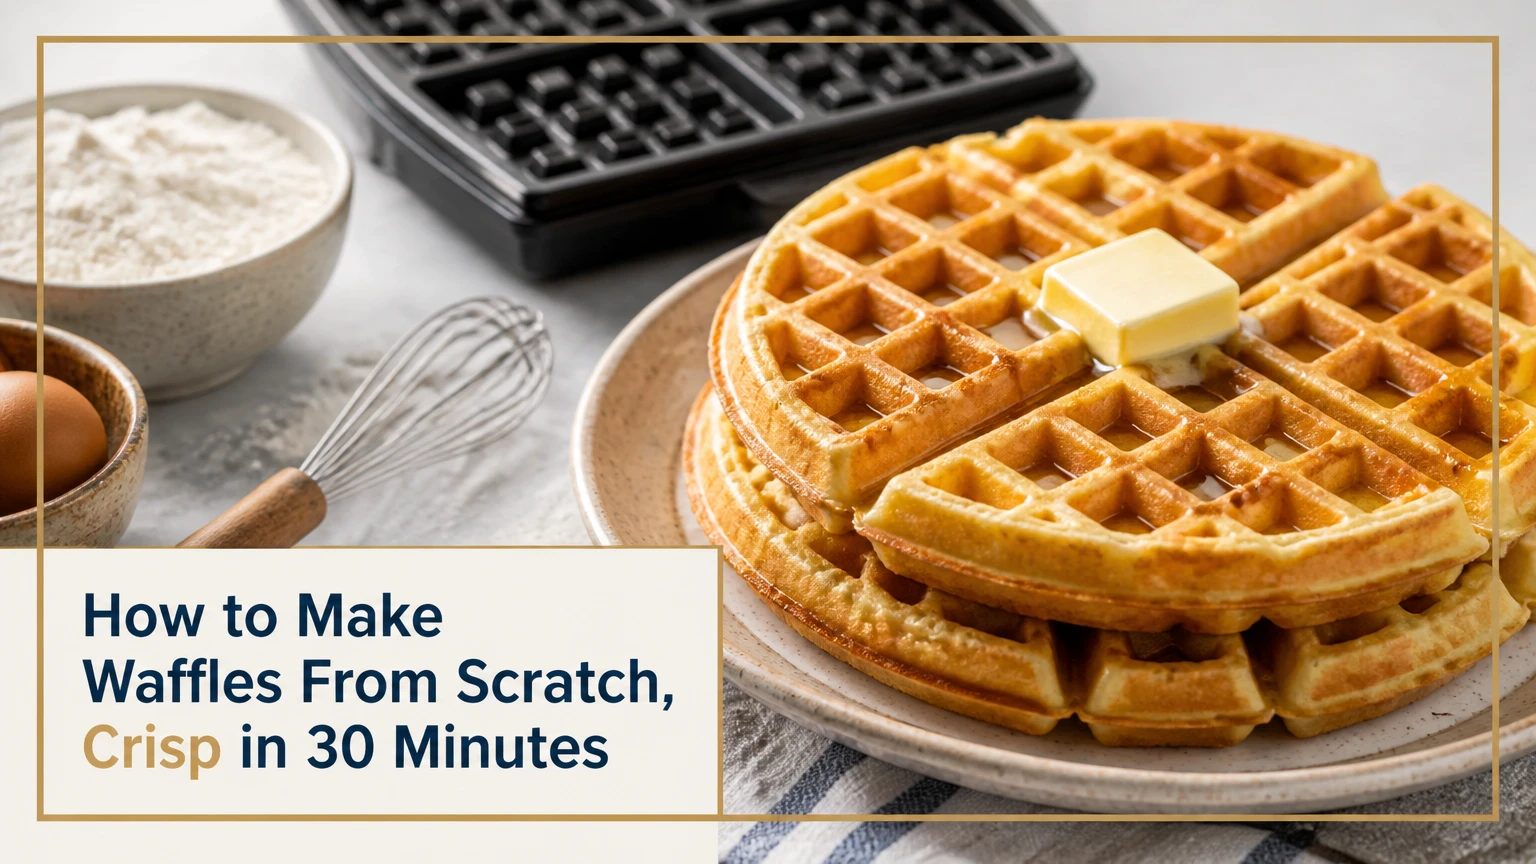
To make waffles from scratch, whisk flour, baking powder, sugar, and salt; combine them with milk, eggs, melted butter, and vanilla; then cook the batter in a fully heated waffle iron for 4-5 minutes. This recipe makes 4-6 large waffles with crisp edges, a tender center, and enough structure for syrup or fruit.
Key Facts at a Glance
- A typical batch uses 250 g flour, 415 ml milk, 2 large eggs, and 115 g melted butter.
- Homemade waffles take about 15 minutes to mix and 4-5 minutes per waffle to cook.
- A fully preheated iron produces a crisper crust than extra baking powder or longer mixing.
- A wire rack prevents steam from softening waffles after cooking.
- Whipped egg whites make Belgian-style waffles lighter, but they are optional for a standard batch.
- A typical homemade batch costs about $3-$6 before toppings, depending on butter, eggs, and milk prices.
Before You Start
The recipe below has a low difficulty level and takes approximately 30-40 minutes, depending on waffle-iron capacity. A two-square iron usually needs four to six cooking cycles, while a four-square Belgian iron can finish the same batter in two or three cycles.
| Requirement | Typical specification |
|---|---|
| Yield | 4-6 large waffles, about 700-900 g total |
| Mixing time | 12-15 minutes |
| Cooking time | 4-5 minutes per batch |
| Ingredient cost | $3-$6 per batch, excluding toppings |
| Waffle iron | Standard or Belgian, 800-1,200 watts |
| Holding temperature | 90°C / 200°F oven |
| Main tools | Bowls, whisk, spatula, ladle, wire rack |
Use a kitchen scale when possible. Flour packed into measuring cups can vary by 20-30 g, and that difference is enough to turn a pourable batter into a heavy one.
Ingredients for Six Large Waffles
| Ingredient | Weight | Volume | Function |
|---|---|---|---|
| All-purpose flour | 250 g | About 2 cups | Structure and starch |
| Baking powder | 8 g | 2 teaspoons | Carbon dioxide lift |
| Granulated sugar | 12 g | 1 tablespoon | Browning and sweetness |
| Fine salt | 3 g | 1/2 teaspoon | Flavor balance |
| Whole milk | 415 g | 1 3/4 cups | Hydration and tenderness |
| Large eggs | 100 g without shells | 2 | Structure, fat, and lift |
| Unsalted butter, melted | 115 g | 1/2 cup | Flavor, browning, and release |
| Vanilla extract | 5 ml | 1 teaspoon | Aroma |
The ingredient ratio is intentionally rich in fat. Waffle batter needs more butter than pancake batter because the iron exposes a larger surface area to intense heat, and the fat helps produce a browned, less adhesive crust.
Step 1: Preheat and Prepare the Waffle Iron
Preheat the waffle iron to medium-high, usually around 190-220°C at the cooking plates, for at least 5 minutes or until its ready indicator signals full heat. Brush the plates lightly with a high-smoke-point oil if the manufacturer permits it, especially during the first batch.
Do not rely only on the indicator light. Many household irons cycle their heating elements, so the first waffle is a practical calibration test. If the first waffle takes more than 6 minutes and remains pale, increase the setting or extend preheating.
You will know the iron is ready when a drop of batter begins setting immediately on contact rather than spreading slowly. Avoid pouring water onto the plates because it can damage electrical components.
Common mistake: Filling a cool iron produces pale, soft waffles and encourages sticking. The repair is simple: close the empty iron for another 3-5 minutes before cooking the next batch.
Step 2: Separate the Eggs for a Lighter Waffle
Separate the eggs if you want a Belgian-style interior, then whisk the yolks with milk, cooled melted butter, and vanilla. Beat the whites in a clean bowl until they hold soft to medium peaks, which generally takes 2-4 minutes with an electric mixer.
Stiff peaks are not required. Very stiff whites become harder to fold without deflating, while soft peaks collapse quickly. For everyday American-style waffles, you can skip separation and whisk the whole eggs into the liquid ingredients.
The choice changes texture rather than basic success. Separated eggs add air, but a hot iron, adequate fat, and restrained mixing have a larger effect on crispness.
Common mistake: Adding hot butter directly to the eggs can partially cook the yolks. Cool melted butter for 5-8 minutes, or whisk it into the milk first to lower its temperature.
Step 3: Mix the Batter Until Small Lumps Remain
Whisk flour, baking powder, sugar, and salt in a large bowl. In a second bowl, combine milk, egg yolks, melted butter, and vanilla; pour the liquid into the dry ingredients and fold until no dry flour remains.
Small lumps are acceptable. Overmixing develops gluten, which makes waffles chewy and tough rather than tender, particularly when the batter contains all-purpose flour.
Fold the whipped whites into the batter in two additions if you separated the eggs. Use a broad spatula and make five to eight gentle folding strokes per addition, stopping when the white streaks are mostly gone.
Success checkpoint: The finished batter should flow slowly from a ladle and leave a visible trail that disappears within about 2 seconds.
Common mistake: Beating the batter until smooth removes air and strengthens gluten. Stop as soon as the flour disappears.
Adjusting Batter Consistency
Batter thickness depends on flour absorption, egg size, and measurement accuracy. Add milk 15 ml at a time if the batter is too stiff; add flour 1 tablespoon at a time if it spreads like cream.
| Batter problem | Visual sign | Adjustment | Likely result |
|---|---|---|---|
| Too thick | Mounds in the bowl | Add 15-30 ml milk | Faster spreading |
| Too thin | Runs like heavy cream | Add 15-20 g flour | More defined grid |
| Proper | Slow ribbon from ladle | No adjustment | Even browning |
| Overmixed | Elastic and glossy | Rest 10 minutes | Slightly softer crumb |
Resting an overmixed batter can relax gluten, but it cannot restore air already lost. Treat resting as damage control, not a substitute for gentle mixing.
Step 4: Portion and Cook the Waffles
Pour 120-160 ml, approximately 1/2-2/3 cup, into the center of a standard large waffle iron, then close the lid without pressing it down. Cook for 4-5 minutes, or until steam decreases sharply and the surface is deep golden brown.
Use less batter for shallow irons and more for deep Belgian grids. The correct amount fills the pattern without reaching the hinge or spilling from the sides; record the amount from the first successful waffle for consistent later batches.
Do not open the iron during the first 3 minutes. Early opening can tear the waffle because the starches and egg proteins have not set. When the lid releases easily and steam has nearly stopped, lift the waffle out with silicone or wooden utensils.
Success checkpoint: A properly cooked waffle feels firm at the edges, releases cleanly, and has a dry, browned surface rather than a wet sheen.
Common mistake: Cooking by the timer alone fails when iron wattage varies. Steam release and surface color are more reliable than an exact minute count.
Why Waffles Become Crisp and Fluffy
Waffles rise mainly because water becomes steam inside the hot iron, while baking powder produces carbon dioxide and eggs help stabilize the expanding bubbles. Flour starch gelatinizes as it absorbs heat and moisture, then egg proteins set the interior so the grid retains its shape.
The crust browns through the Maillard reaction and caramelization. Butter supplies fat for browning and release, while sugar increases surface color and crispness. Excess moisture has the opposite effect, because trapped steam softens the crust after cooking.
Food writer Harold McGee describes browning as a set of heat-driven reactions that create “hundreds of new flavor compounds” in cooked foods. That principle explains why a properly heated iron creates more flavor than simply extending the cooking time on low heat.
The practical rule is straightforward: use a hot iron, moderate batter moisture, and immediate ventilation. Extra baking powder cannot compensate for a cool cooking surface.
Which Waffle Style Should You Make?
Belgian waffles suit deep irons and heavy toppings, while American waffles suit shallow irons and quick weekday preparation. Buttermilk waffles provide tang and tenderness, and Liège waffles require a yeast dough rather than a pourable batter.
| Style | Iron requirement | Leavener | Texture | Typical total time |
|---|---|---|---|---|
| American | Shallow, 2-4 squares | Baking powder | Thin, crisp-tender | 25-35 minutes |
| Belgian | Deep-grid or flip iron | Baking powder, whipped whites | Light center, crisp shell | 30-40 minutes |
| Buttermilk | Standard or Belgian | Baking soda and powder | Tangy, tender crumb | 25-35 minutes |
| Liège | Deep or standard iron | Yeast | Dense, chewy, caramelized | 2-12 hours |
American Versus Belgian Waffles
American waffles are the better choice for a standard iron, limited preparation time, and toaster reheating. Belgian waffles are better when the goal is a lighter interior with deep pockets for whipped cream, berries, or warm fruit.
The recipe in this guide can become Belgian-style by separating the eggs and using a deep-grid iron. It will not become a traditional Liège waffle, because Liège waffles use a brioche-like yeast dough and pearl sugar that caramelizes directly on the plates.
How Do You Keep Homemade Waffles Crisp?
Place each cooked waffle in a single layer on a wire rack set over a baking sheet, and hold the rack in a 90°C / 200°F oven for up to 30 minutes. Do not stack hot waffles, because the steam escaping from one waffle condenses against the next.
A rack is more effective than a plate because air can reach both surfaces. If the oven is hotter than 95°C / 203°F, the edges may dry before the center stays tender.
For the crispest result, serve waffles within 5 minutes. Syrup, fruit compote, and whipped cream should go on at the table because wet toppings soften the crust quickly.
The United States Department of Agriculture advises, “Cook eggs until both the yolk and white are firm.” Waffle batter reaches a much higher surface temperature than that minimum practical safety endpoint, but undercooked centers still indicate insufficient cooking and poor texture.
How Much Does a Batch Cost?
A typical six-waffle batch costs $3-$6 for ingredients in the United States, excluding toppings and electricity. Butter, eggs, and branded vanilla create the largest price changes; flour and baking powder contribute relatively little.
| Cost component | Typical quantity | Typical price range | Batch share |
|---|---|---|---|
| All-purpose flour | 250 g | $0.25-$0.60 | 5-15% |
| Milk | 415 ml | $0.35-$0.90 | 10-20% |
| Eggs | 2 large | $0.50-$1.20 | 15-30% |
| Butter | 115 g | $1.00-$2.00 | 25-45% |
| Sugar, salt, leavener, vanilla | Recipe amounts | $0.50-$1.30 | 10-25% |
Prices vary by country, package size, and local dairy costs. The cost can fall below $3 when milk and butter are purchased on promotion, while premium butter and pure vanilla can push the batch above $6.
Common Mistakes and How to Fix Them
| Symptom | Primary cause | Immediate fix | Prevention |
|---|---|---|---|
| Soggy waffles | Stacking or excess moisture | Return to a 190°C oven rack for 3-5 minutes | Ventilate on a rack |
| Dense interior | Overmixed batter or flat leavener | Cook a smaller test waffle | Fold until flour disappears |
| Sticking | Cool plates or insufficient surface fat | Reheat and lightly oil plates | Preheat fully |
| Pale surface | Low iron heat or little sugar | Increase heat one setting | Use 12 g sugar |
| Raw center | Too much batter | Cook longer at the same heat | Reduce portion by 15-30 ml |
| Burned edges | Excess sugar or high heat | Lower setting slightly | Use medium-high, not maximum |
Why Are Waffles Soggy?
Soggy waffles usually result from trapped steam, an underheated iron, or batter that contains too much liquid. Cooling on a wire rack solves the first problem, while full preheating solves the second.
If the center remains wet after the waffle cools, reduce milk by 15-30 ml or cook a smaller portion longer. Do not solve a wet center by turning the heat to maximum, because the crust may burn before the interior sets.
Why Do Waffles Stick?
Waffles stick when the plates are cool, the coating is damaged, or the batter lacks enough fat. Lightly brush the plates with canola or vegetable oil, but avoid repeated aerosol spray use because propellant residue can build up on some iron surfaces.
Never scrape stuck waffles with metal utensils. A silicone spatula and a fully reheated iron usually release the remaining batter without damaging the coating.
Why Are Waffles Tough?
Tough waffles usually contain overdeveloped gluten from excessive stirring or too much flour. Weigh the flour, leave small lumps, and avoid pressing the lid during cooking.
A waffle can also become tough from prolonged holding in a hot oven. Keep waffles at 90°C / 200°F for no more than 30 minutes, then reheat frozen waffles in a toaster instead.
Variations for Different Situations
Buttermilk Waffles
Replace the 415 ml whole milk with 415 ml buttermilk and use 1 teaspoon baking powder plus 1/2 teaspoon baking soda. Buttermilk acidity reacts with baking soda, producing a tender crumb and mild tang.
Do not replace milk with buttermilk while keeping a large amount of baking soda. Too much soda creates a soapy flavor and excessive browning.
Dairy-Free Waffles
Use an unsweetened oat or soy beverage in the same 415 ml quantity and replace butter with 100 g neutral oil. Soy beverage generally gives more protein and browning than thin rice beverage.
Oil makes the waffle slightly less buttery but often keeps the crust crisp after cooling. Choose a neutral oil such as canola, sunflower, or refined coconut oil.
Gluten-Free Waffles
Use a 1-to-1 gluten-free flour blend containing xanthan gum, replacing the all-purpose flour by weight at 250 g. Rest the batter for 10 minutes before cooking so rice or corn starches hydrate.
Gluten-free waffles can break when removed too early. Wait until steam nearly stops and the surface is visibly dry.
Overnight Yeast Waffles
For deeper flavor, combine 250 g flour, 415 ml milk, 115 g melted butter, 2 eggs, 12 g sugar, 4 g instant yeast, and 3 g salt. Cover and refrigerate 8-12 hours, then stir gently and cook the next morning.
Overnight yeast waffles are not the fastest option, but fermentation creates a more complex aroma and a lighter, irregular crumb. Keep the covered batter refrigerated rather than leaving an egg-containing mixture at room temperature overnight.
How Do You Store and Reheat Waffles?
Cool waffles completely on a wire rack, freeze them in one layer for 1-2 hours, then transfer them to an airtight freezer bag for up to 3 months. Reheat frozen waffles directly in a toaster or 190°C / 375°F oven until hot and crisp.
Do not seal warm waffles in a container. Condensation turns the crust soft and can create icy patches during freezing.
| Storage method | Maximum typical quality period | Reheating method | Texture |
|---|---|---|---|
| Room temperature | 2 hours | Toaster or iron | Softens quickly |
| Refrigerator | 3 days | 190°C oven, 5-8 minutes | Tender, moderately crisp |
| Freezer | 3 months | Toaster, 2 cycles | Closest to fresh |
| Frozen batter | Not recommended | Not applicable | Leavener weakens |
Freezing cooked waffles is more reliable than refrigerating batter. Baking powder begins reacting when hydrated, so refrigerated batter may produce flatter waffles the next day.
Expert Rules for Better Results
- Measure the first portion. Weigh or measure the batter that fills the iron correctly, then repeat that amount. Portion consistency prevents raw centers and overflow.
- Use the first waffle as calibration. Adjust heat, not the entire recipe, when the first waffle is pale or dark. Iron thermostats differ substantially between models.
- Separate eggs only after controlling heat. Whipped whites improve lightness, but they cannot rescue a cool iron, wet batter, or a lid opened too early.
- Keep toppings separate until serving. Syrup and fruit introduce surface moisture faster than most home cooks expect, especially on deep-grid waffles.
- Do not chase maximum crispness with maximum heat. High heat browns the exterior before steam escapes from the center, producing a dark, soft waffle.
Frequently Asked Questions
Can I Make Waffles Without a Waffle Iron?
A waffle iron is necessary for the traditional grid shape and rapid two-sided cooking. A ridged griddle can produce a waffle-like cake, but it will not create the same enclosed steam environment or crisp patterned shell. For occasional use, a small standard iron is usually more practical than adapting a frying pan.
Should Waffle Batter Rest Before Cooking?
A five-minute rest can hydrate flour and reduce visible lumps, but chemical-leavened batter is best cooked within about 20 minutes. Longer resting allows some baking powder reaction to occur before the batter reaches the iron, which can reduce lift. Yeast-based overnight batter is a separate method.
Can I Use Pancake Batter in a Waffle Maker?
Pancake batter usually needs more fat and sometimes more sugar before it works well in a waffle maker. Without adjustment, pancake batter tends to produce a softer crust that can stick. Add approximately 30-60 g melted butter per 250 g flour, then cook until steam nearly stops.
How Do I Make Waffles for a Crowd?
Cook waffles in batches and hold them on wire racks in a 90°C / 200°F oven for no more than 30 minutes. For a larger group, prepare dry ingredients in advance and mix each batch shortly before cooking. Freeze any leftovers rather than refrigerating a large stack.
Can I Double This Waffle Recipe?
You can double every ingredient to make approximately 8-12 large waffles, but use two bowls if the mixing bowl becomes crowded. Mix until just combined, because a larger batter does not require more stirring. Cook the doubled batch in portions rather than letting mixed batter sit for an hour.
What Toppings Work Best With Crisp Waffles?
Maple syrup, berries, sliced bananas, yogurt, whipped cream, toasted nuts, and fried chicken pair well with crisp waffles. Add wet toppings immediately before eating. For a less sweet serving, use butter, poached eggs, smoked salmon, or sautéed mushrooms and reduce the sugar to 5 g.
The Bottom Line
To make waffles from scratch successfully, prioritize a fully heated waffle iron, weighed flour, moderate batter mixing, and immediate cooling on a wire rack. The measured recipe produces 4-6 crisp-tender waffles in about 30-40 minutes, while separated eggs, buttermilk, gluten-free flour, and overnight yeast provide distinct texture options. For reliable weekday results, follow the basic method, freeze leftovers, and reheat them in a toaster.